Air-conditioning units are essential for maintaining a comfortable living and working environment, especially during hot summer months. To ensure the efficient and reliable operation of your AC unit, it’s crucial to perform regular preventive maintenance. In this step-by-step guide, we’ll walk you through the key tasks involved in maintaining your air-conditioning unit.
Step 1: Safety First
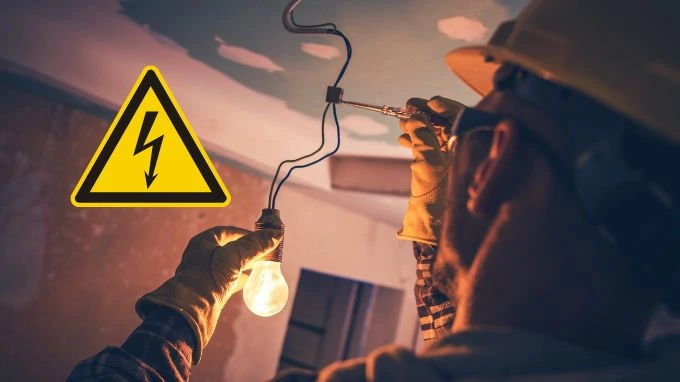
Before you start any maintenance on your AC unit, it’s essential to prioritize safety. Make sure to:
- Turn off the power: Disconnect the power supply to the AC unit at the breaker or disconnect switch to prevent any electrical accidents.
- Wear appropriate safety gear: This includes gloves and safety glasses to protect yourself from sharp edges and debris.
Step 2: Clean or Replace Air Filters
One of the most crucial tasks for AC maintenance is cleaning or replacing the air filters. Clogged or dirty filters can reduce airflow and make your AC system work harder, leading to higher energy consumption and potential damage.
- Locate the air filter: Typically, the air filter is located in the air handler unit or the return air duct.
- Check the condition: If the filter is visibly dirty or clogged, it’s time for a replacement.
- Choose the right filter: Use the manufacturer’s recommendations to select the appropriate filter type.
- Install the new filter: Make sure it’s installed in the correct direction (usually marked on the filter) and securely in place.
Step 3: Clean the Condenser Coils
The condenser coils in your AC unit are responsible for releasing heat outside. Over time, they can accumulate dirt and debris, reducing the unit’s efficiency. Follow these steps to clean the coils:
- Turn off the power to the outdoor unit.
- Remove debris: Clear away any leaves, grass, or debris from around the unit.
- Use a coil cleaner: Apply a coil cleaner as per the manufacturer’s instructions to dissolve dirt and grime.
- Rinse with a hose: Gently rinse the coils with a hose to remove the cleaner and dirt.
Step 4: Check the Condensate Drain
A clogged condensate drain can lead to water damage in your home. To prevent this, inspect and clear the drain as needed:
- Locate the drain line, typically near the air handler.
- Check for clogs: If it’s clogged, use a wet/dry vacuum or a stiff brush to clear the blockage.
Step 5: Inspect the Evaporator Coils
The evaporator coils are located inside your home, and they can also accumulate dirt and dust. Inspect them and, if necessary, clean them:
- Remove the access panel to the evaporator coils.
- Check for dirt and debris. If you see any, clean the coils using a coil cleaner.
Step 6: Tighten Electrical Connections
Loose electrical connections can be hazardous and lead to system failure. Check and tighten all electrical connections:
- Turn off the power to the AC unit.
- Inspect all connections, including terminals and wires.
- Use a screwdriver or wrench to tighten any loose connections.
Step 7: Monitor Refrigerant Levels
Refrigerant is crucial for the cooling process, and low levels can indicate a leak. If you suspect a refrigerant issue, it’s best to call a professional technician for assistance.
Step 8: Test the Unit
After completing all the maintenance steps, turn the power back on and run the system. Check for any unusual noises, odors, or performance issues. If you notice any problems, it’s essential to contact a professional HVAC technician for further evaluation and repairs.
Conclusion
By following these steps for preventive maintenance, you can extend the lifespan of your air-conditioning unit, improve its efficiency, and ensure a comfortable indoor environment. Regular maintenance not only saves you money on energy bills but also prevents costly breakdowns and repairs.
Remember that while you can perform basic maintenance tasks, it’s essential to have your AC unit professionally serviced at least once a year to address more complex issues and keep your system in optimal condition.


